
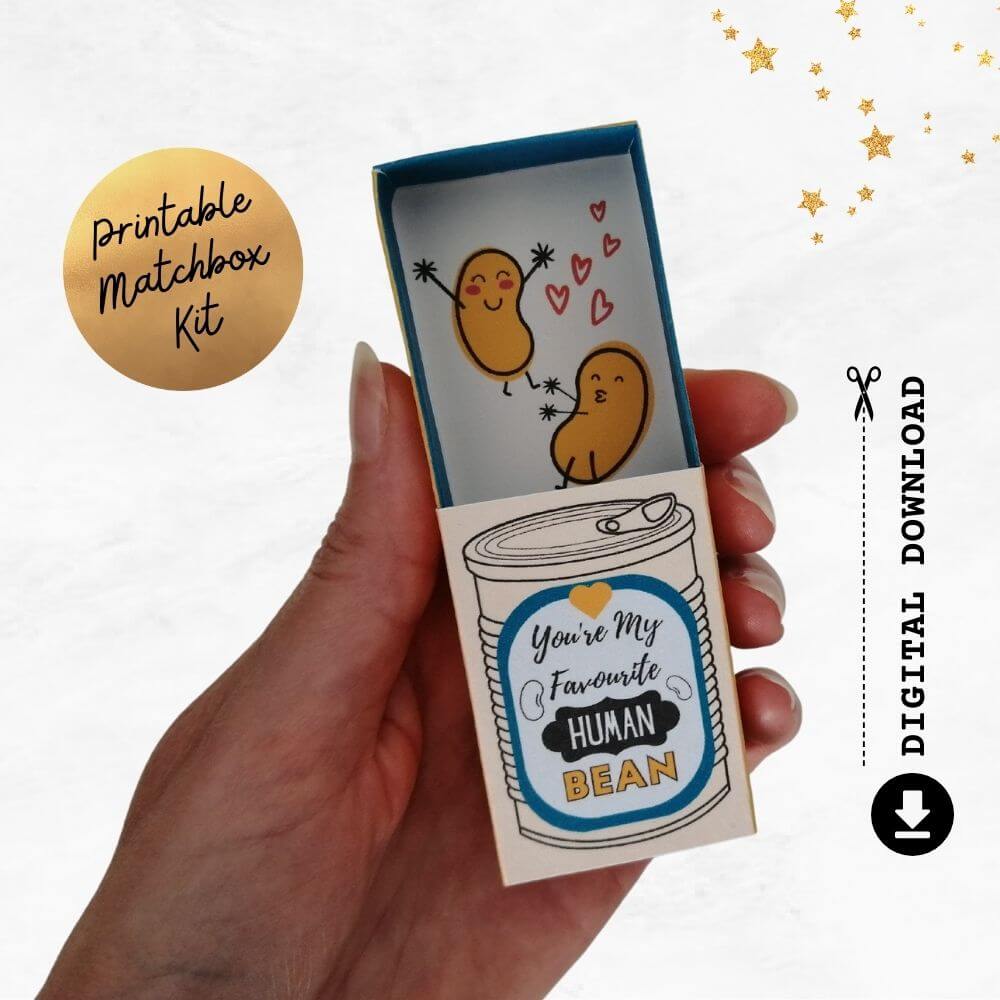
If you have purchased one of my cute little printable matchbox craft kits, these photo instructions will show you exactly how to make a matchbox.
You don’t need anything fancy to make these, just a few basic materials. My score tool of choice is even an empty pen (where the ink has run out) and it works a treat!
If you prefer watching a video you can see a full walk-through of the instructions below. Just press play.
Materials Required
- Scissors
- Ruler
- Double-sided tape
- Empty pen (for scoring)
- White card (220gsm)
- Colour printer
PIN THIS POST FOR LATER!

These sweet boxes make great gifts for someone in hospital, to add to a care package or for surprising a loved one. And you can even pop a tiny treat inside like chocolates or jewellery. I have lots of different designs in my shop.

1. Print The File
After you have downloaded the file, print it onto good white card stock. I use 220gsm card and find this thickness to provide a nice sturdy end product while also being easy enough to fold. If you don’t have card you could print it onto normal copy paper and stick it onto cereal board or something similar.
You don’t need a fancy printer to print these files. I use a basic Canon Inkjet and the quality is great. Obviously, the colours of your finished product will vary depending on inks and paper type etc.

2. Cut Out The Components
Take your time to make sure the edges are nice and neat. When cutting out the inside drawer make cuts right up to the edge of the middle on the 4 short sides (see circle photo).

3. Score The Outside Wrap
Grab your trusty score tool, i.e. the empty pen! And a ruler. I like my metal ruler because it’s very sturdy but any will do. Don’t be shy, apply a good amount of pressure so that the card is easy to fold. Go ahead and fold where you have scored.

4. Apply Double Sided Tape
Stick a couple of strips of double-sided tape to the redundant flap on the outside wrap and carefully fix together. I usually leave a millimetre or so space at the edge.

5. Score The Inside Drawer
Same as with the outside wrap, score the inside drawer carefully and firmly. And then fold.

6. Apply Double Sided Tape To Inside Drawer
Apply 6 pieces of double-sided tape to the inside drawer as shown below in the photo below. Start at one end of the shorter sides and remove the double-sided tape from that end. Fold one tab carefully inside and then the other. Don’t fold the flap down at the stage.

7. Apply Double Sided Tape To Drawer Liner
Apply a couple of strips of double-sided tape to the back of the drawer liner. Don’t forget to make sure that the design on the bottom of the inside drawer is the right way up! Insert the liner into the drawer making sure to push it right to the back to ensure it fits. It’s a snug fit.

8. Fold down the lips
Starting with the first edge with the tucked-in tabs, fold over the lip and press firmly to provide a neat crease. On the opposite edge tuck the tabs in as per step 6. Then continue to fold over the lips of all 3 edges, pressing firmly for a neat finish.

9. Enjoy The cuteness
That’s it! Add the drawer to the outside wrap and enjoy the cuteness.

Hopefully, this quick guide has helped you make a matchbox easily. I’m obsessed with these cuties, which is probably why I can’t stop making them! Send someone you love a little bit of sweetness to brighten their day. You can check out the full range in my shop.


